This week's project was a nail gun cabinet. I have been wanting to make an organizer of some sort for my nail guns for a while now and when I came across a design from FixThisBuildThat I was sure I could make it work. The plans were for a hanging tool cabinet and I knew I could easily morph the plans to fit my needs.
This was a pretty simple build and under normal conditions can be easily built in a day! I chose to make the project a little more difficult by using dados for the joinery and adding a drawer to the bottom for nails and misc. stuff.
The final dimensions of this cabinet were 22 3/8" wide by 23" tall with a 4 1/4" tall drawer for extra storage. I started by ripping and cross cutting all my parts at the same time, makes the assembly much easier if you have everything cut to the same size.


I used dados and counter sunk screws for the joinery of the cabinet itself. I also took the time to go ahead and cut the dados in the shelves for the dividers. I routed a few extra grooves an inch apart for extra room for maybe larger items in the future or more nail guns.


I used some leftover 1/4 plywood I had for the back, I also drilled some pocket holes in the top shelf to help attach the cleat on the back.


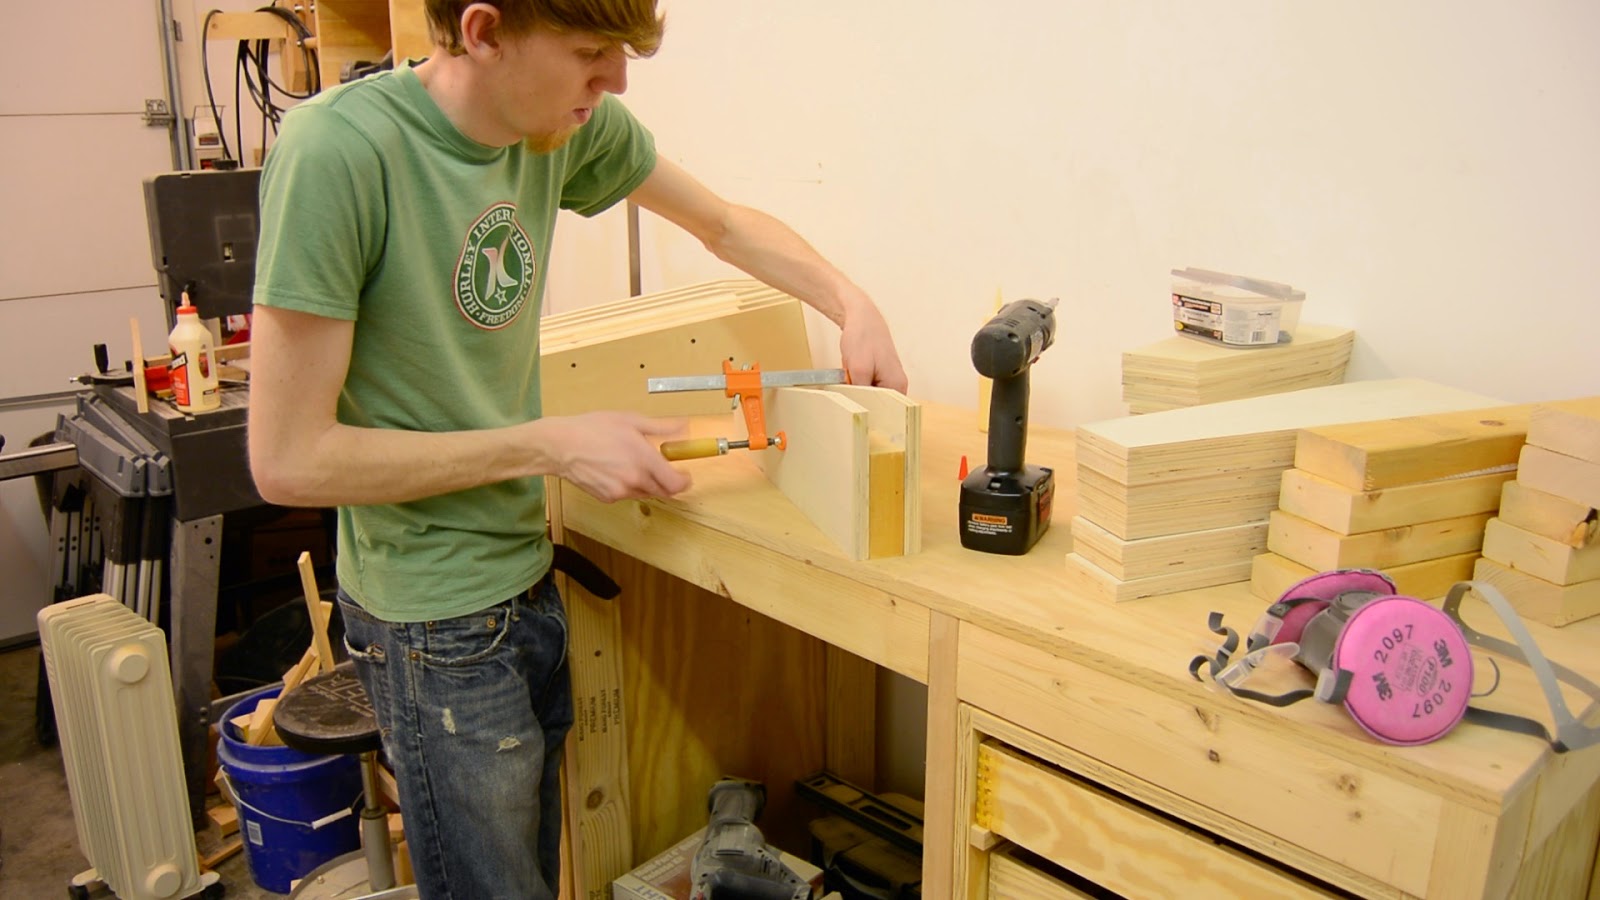
I waited to cut the dividers till after the case was constructed to make sure I could get a really nice fit.

I decided to add a drawer to the bottom of the case for nail storage. I cut the parts for the drawer out of 3/4 ply and pocket screwed them together and dado'd a 1/4 groove for the bottom and screwed it into the back after sliding it in the groove.


I made a false front out of some scrap Alder I had lying around the shop and made a simple pull out of the same material by cutting a simple 7 degree angle. I used a piece of tape to mark the location of the pull so I could pre drill and nail and glue the false front on.


My small screw driver came in handy for attaching the pull from the inside.

I wiped on two coats of polyurethane on the drawer front to help protect the wood.

And there you have it, an easy to build awesome nail gun cabinet. I should have built one of these a long time ago. I would like to thank Brad over at FixThisBuildThat for the inspiration for this project and allowing me to make this video of his build to show you guys.


The final dimensions of this cabinet were 22 3/8" wide by 23" tall with a 4 1/4" tall drawer for extra storage. I started by ripping and cross cutting all my parts at the same time, makes the assembly much easier if you have everything cut to the same size.
I used dados and counter sunk screws for the joinery of the cabinet itself. I also took the time to go ahead and cut the dados in the shelves for the dividers. I routed a few extra grooves an inch apart for extra room for maybe larger items in the future or more nail guns.
I used some leftover 1/4 plywood I had for the back, I also drilled some pocket holes in the top shelf to help attach the cleat on the back.
I waited to cut the dividers till after the case was constructed to make sure I could get a really nice fit.
I decided to add a drawer to the bottom of the case for nail storage. I cut the parts for the drawer out of 3/4 ply and pocket screwed them together and dado'd a 1/4 groove for the bottom and screwed it into the back after sliding it in the groove.
I made a false front out of some scrap Alder I had lying around the shop and made a simple pull out of the same material by cutting a simple 7 degree angle. I used a piece of tape to mark the location of the pull so I could pre drill and nail and glue the false front on.
My small screw driver came in handy for attaching the pull from the inside.
I wiped on two coats of polyurethane on the drawer front to help protect the wood.
And there you have it, an easy to build awesome nail gun cabinet. I should have built one of these a long time ago. I would like to thank Brad over at FixThisBuildThat for the inspiration for this project and allowing me to make this video of his build to show you guys.