So the need for this rack started a few months back after buying a large amount of sheet goods and hardwood off of craigslist. My wife was worried that the guy I was buying this stuff from was another one of these craigslist killers and actually left the house with our little girl before he came to deliver it haha. Luckily for me he was a really nice older man who just selling out of his home based cabinet shop and was looking to get rid of everything he had. I got a really nice deal on all the stuff I got from him and he even ended up throwing lots of other things in the deal that weren't listed.
I knew before hand that I didn't really have room in my shop for all this stuff, but typical me, I had to have it because it was a good deal. I was also able to justify it by my wife by promising her the built in bookcase/desk she's been wanting. I quickly realized I was going to have to do something because all this material had basically rendered my shop useless and was taking up too much space.
I had kicked around a few ideas when I decided that a lumber rack in place of the loft in the back corner of my shop would probably be the best plan. That spot in my shop is really too small for anything else and the loft that was there really wasn't that practical.
I had already seen a few different plywood racks online and basically was gonna use that same idea and being that I had a Kreg pocket hole jig and a ton of 2.5" screws left over from all the "farm style" tables I used to build, I figured this would be the route I'd take. I figured by using 8 foot 2x4's and pocket screws I could simplify construction and keep the cost down as well. I also figured I could use the particle board from the loft to make the shelves for the side and top for more storage.
I started by actually sitting down and sketching out what I wanted first on paper and making a cut list. It's a little more work on the front end but comes in really handy for making all the cuts.
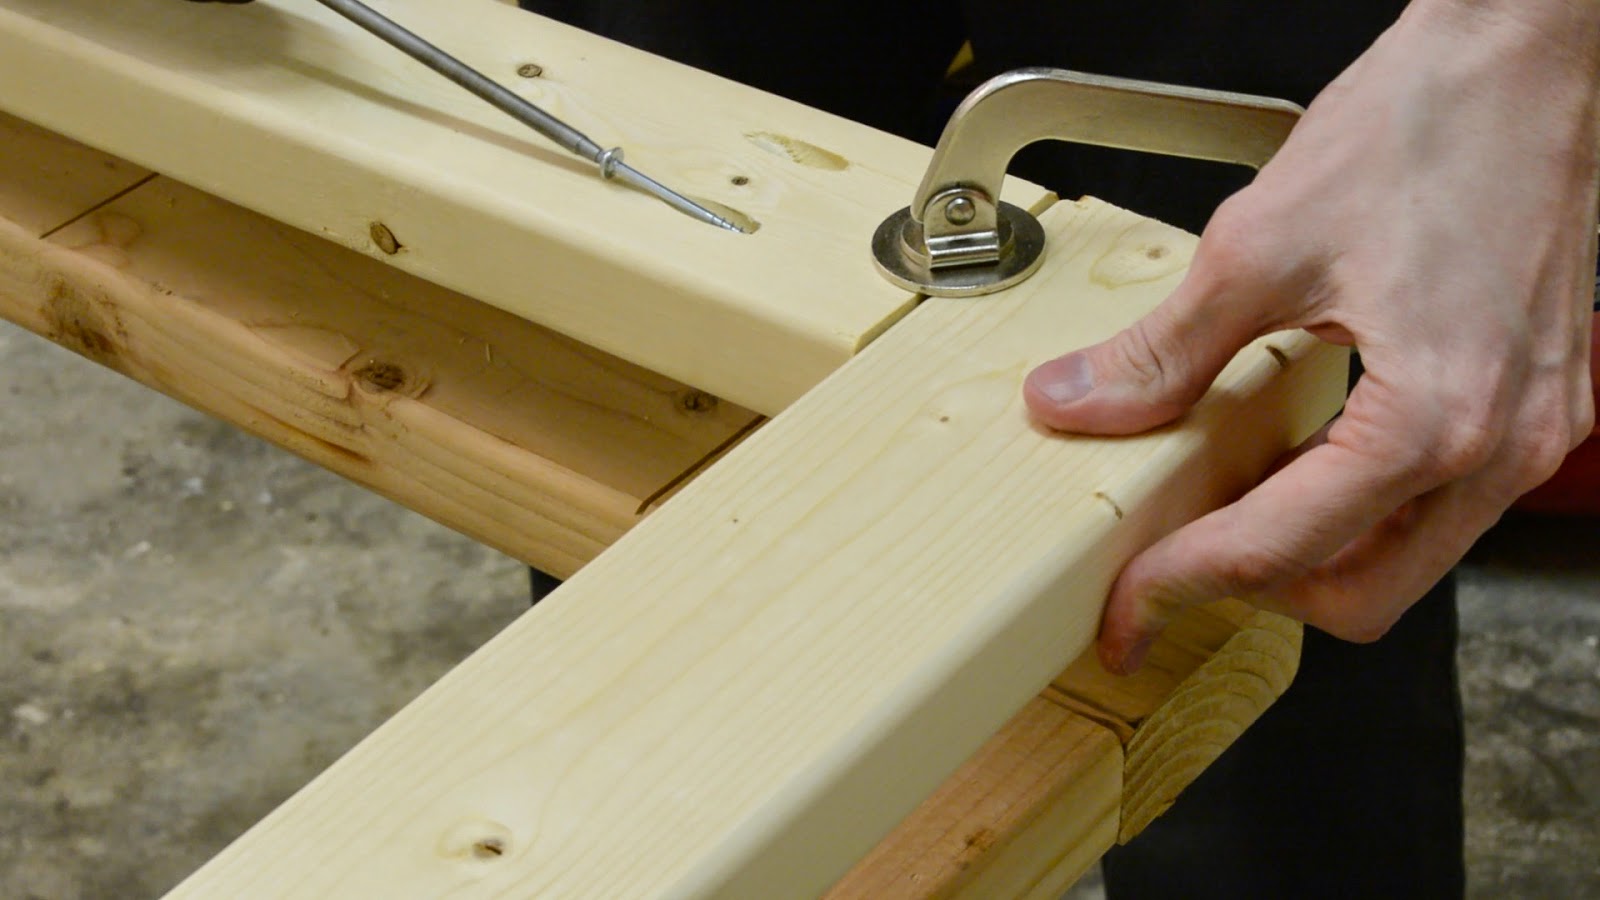
The next step was to drill a lot of pocket holes. It's a time consuming process with all the pocket holes, but it really simplifies construction and makes for fast assembly.
Once all the pocket holes were drilled it was time to start assembly. I started by assembling the three basic substructures first.
Next I added all the shelf supports and the top and bottom supports as well. I waited on the side supports until I had this thing upright and moved into position to try and keep the weight down some for ease of moving. I also anchored the rack to the wall in the two corners to try and help prevent any racking that may happen once it's loaded with a lot of sheet goods.
After moving everything out of the way and tearing the old loft down it was time to add the shelves which as I said earlier I just used the old top for the loft which was some 1/4" particle board and drove counter sunk 1 1/4 deck screws to hold them in place.
And there it is, a really simple build and should hold as many sheet goods as I'll probably ever need at any given time. That is unless I find any more craigslist ads haha. The next shop item on my list is a lumber rack for all the wood I have piled up in my floor.
If you are interested in a set of plans you can check the Plans section of this site. They can be easily modified to fit whatever your needs may be.


Sounds like you got a great deal on the ply. It's quite expensive here in Australia; maybe I should try and convince a local cabinet maker to shut down his shop... :-)
ReplyDeleteHaha yeah, couldn't hurt to try.
ReplyDelete