


This a project I've been needing for some time now. The only good work surface I had was my table saw top and while that worked pretty well, it also was aggravating when I needed to use my saw and had to clear everything off it. I also needed an out feed table for my saw instead of trying to hold the pieces from falling off the back of my saw, which i didn't like doing because of the safety aspect of it. The storage underneath would also be a welcomed commodity, never enough space to store stuff!
I had a surplus of leftover 2x4's from various projects that I would use for this project. I wanted to be able to double the pieces up for more strength and weight. I'm calling this a poor man's half lap system haha. I also wanted to be able to double up the top to get a nice rigid surface to work off of.

After cutting all the piecing to length using a combination of my miter saw and cut off sled on the table saw. I first started out by assembling an upper and power frame in which I use pocket screws to join them together. It's also a good idea to drill pocket holes in the sides to attach the top later on, I cut some cleats out of scrap ply to attach the bottom shelf being that it would be inset of the lower frame. I added center supports and went ahead a doubled up the two sides before attaching the legs.


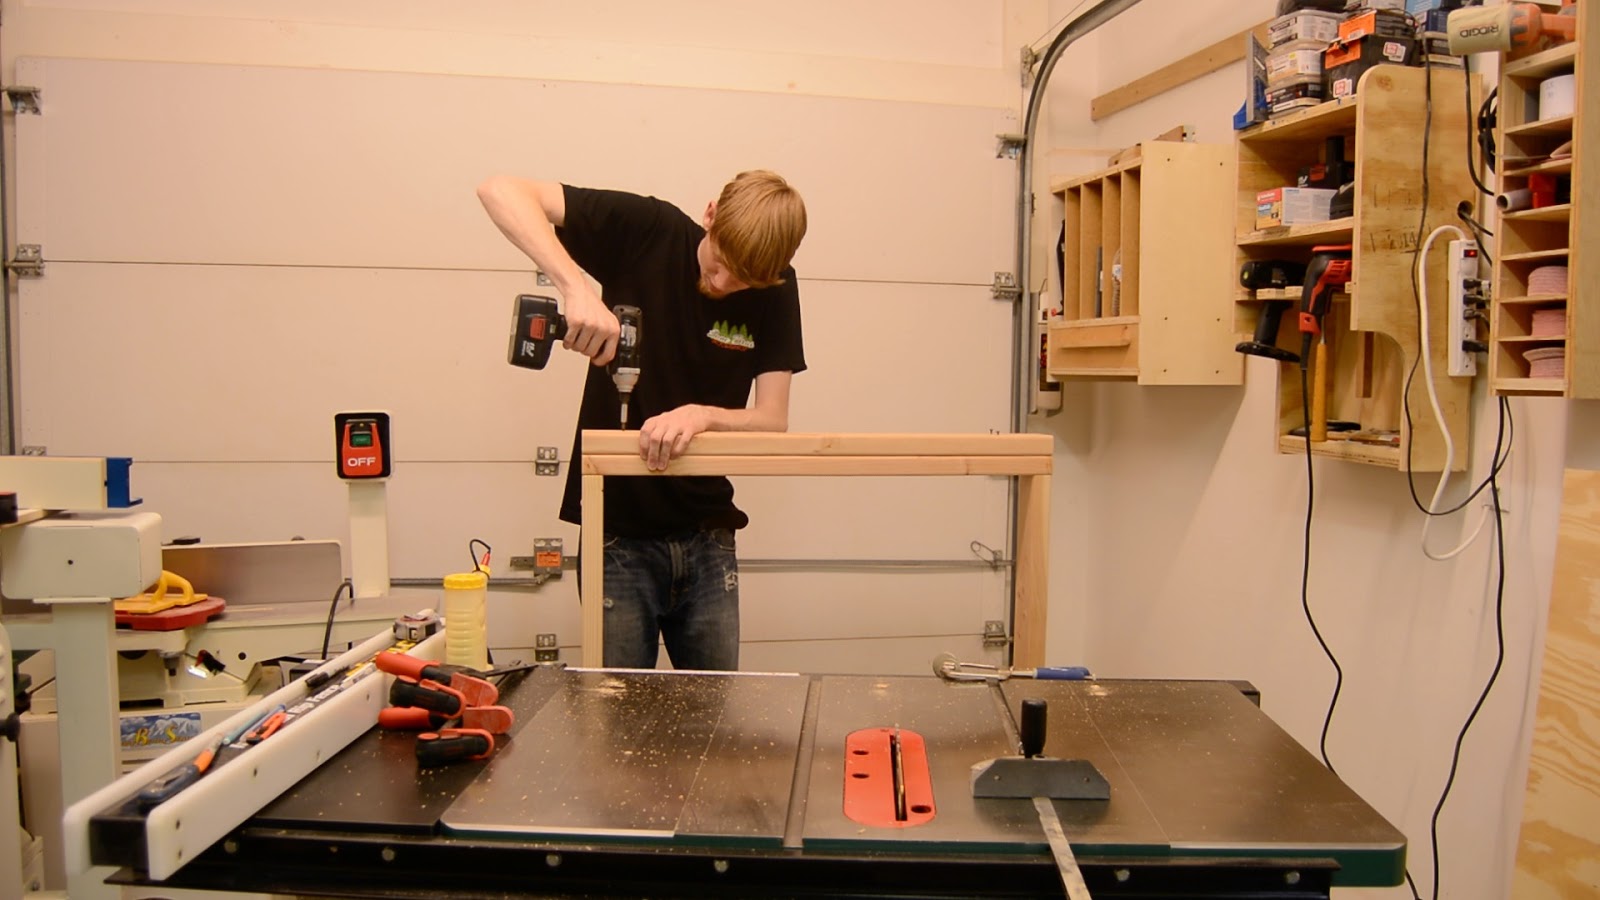


I pre drilled and counter sunk screws into the frames to attach the legs. I attached a small block to the bottom of the legs to hold the lower shelf up, in addition to the height of the casters, this would give me enough room for the dust collection to pass under the table.


Once I had the legs attached I cut the lower shelf to size with my track saw and screwed it into place from underneath with the pocket holes I drilled earlier. I attached the outside aprons using only glue, by laminating these I would eliminate any visible joinery from being seen. I attached the inside of the legs using glue and screws.


Before attaching the caster I had to cut another piece to attach to the inside of the legs on both sides. the casters were to wide for the legs and the addition piece on the insides would give me enough room to attach them.


The last step was to cut the top. I cut the first piece of 3/4 play to fit and attached it using the pocket screws I drilled earlier. I then cut a slightly over sized piece of 3/4 mdf and laminated it to the top of the 3/4 ply. Once the glue dried I used a flush trim bit in my router to flush the mdf to the piece of ply underneath.


I haven't yet decided how I want to edge band the ply, but I know for sure that I want to. This table should serve me well and is probably something I should have built a long time ago. It's nice to be able to also store stuff underneath and free up some more space in my shop.


