Plans

Sheet Goods Rack

Posted on Sunday, February 15, 2015 with 2 comments

Sunday, February 15, 2015


So the need for this rack started a few months back after buying a large amount of sheet goods and hardwood off of craigslist. My wife was worried that the guy I was buying this stuff from was another one of these craigslist killers and actually left the house with our little girl before he came to deliver it haha. Luckily for me he was a really nice older man who just selling out of his home based cabinet shop and was looking to get rid of everything he had. I got a really nice deal on all the stuff I got from him and he even ended up throwing lots of other things in the deal that weren't listed. 

I knew before hand that I didn't really have room in my shop for all this stuff, but typical me, I had to have it because it was a good deal. I was also able to justify it by my wife by promising her the built in bookcase/desk she's been wanting. I quickly realized I was going to have to do something because all this material had basically rendered my shop useless and was taking up too much space. 

I had kicked around a few ideas when I decided that a lumber rack in place of the loft in the back corner of my shop would probably be the best plan. That spot in my shop is really too small for anything else and the loft that was there really wasn't that practical. 

I had already seen a few different plywood racks online and basically was gonna use that same idea and being that I had a Kreg pocket hole jig and a ton of 2.5" screws left over from all the "farm style" tables I used to build, I figured this would be the route I'd take. I figured by using 8 foot 2x4's and pocket screws I could simplify construction and keep the cost down as well. I also figured I could use the particle board from the loft to make the shelves for the side and top for more storage.

I started by actually sitting down and sketching out what I wanted first on paper and making a cut list. It's a little more work on the front end but comes in really handy for making all the cuts.


I started out with 16 2x4's and was able to make all my cuts out of them with very few leftovers.


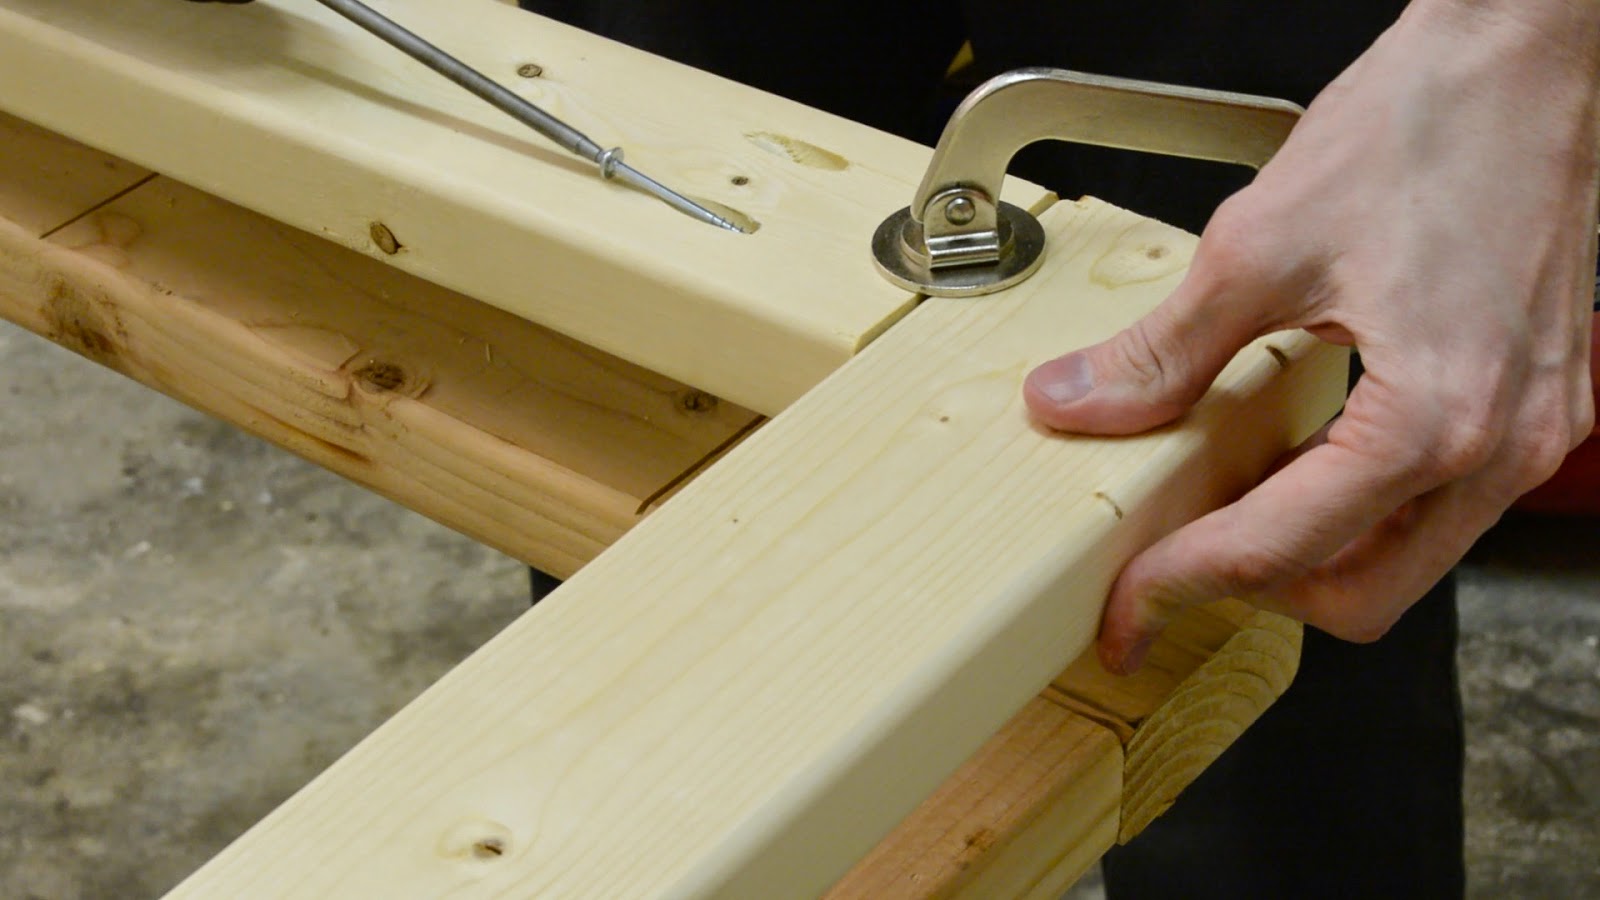
The next step was to drill a lot of pocket holes. It's a time consuming process with all the pocket holes, but it really simplifies construction and makes for fast assembly.


Once all the pocket holes were drilled it was time to start assembly. I started by assembling the three basic substructures first.


Next I added all the shelf supports and the top and bottom supports as well. I waited on the side supports until I had this thing upright and moved into position to try and keep the weight down some for ease of moving. I also anchored the rack to the wall in the two corners to try and help prevent any racking that may happen once it's loaded with a lot of sheet goods.


After moving everything out of the way and tearing the old loft down it was time to add the shelves which as I said earlier I just used the old top for the loft which was some 1/4" particle board and drove counter sunk 1 1/4 deck screws to hold them in place.


And there it is, a really simple build and should hold as many sheet goods as I'll probably ever need at any given time. That is unless I find any more craigslist ads haha. The next shop item on my list is a lumber rack for all the wood I have piled up in my floor.


If you are interested in a set of plans you can check the Plans section of this site. They can be easily modified to fit whatever your needs may be.

READ MORE

Key Cubbies

Posted on Sunday, February 8, 2015 with No comments

Sunday, February 8, 2015


The project for this week was a set of key cubbies to go in the top of the coat rack I just finished last week.

So I had it all planned out (the weekend that was), I had mostly finished the cubbies and shooting the video except for the sanding. It was Friday, 2:00 and I was already off work! I was gonna come home, finish the cubbies that night so my wife Miriam could start the editing process for the video. The next morning my plan was to get up head to Lowes and pick up the supplies for the next weeks project and start shooting video and building the project as soon as I got home. Then I get the call about halfway through the sanding process, my wife is sick with the stomach bug and would be out of commission for the weekend. The best laid plans of mice and men right?

So this weekend it was me and Emma and trying to juggle finishing the project and figure out how I was gonna get to the home store and get the supplies I needed for the next project. I knew  I wasn't gonna be able to start the project this weekend like I planned but maybe I could at least get everything in place. Well thank goodness for Grammie, she was able to watch Emma a little while on Saturday so me and my bro Chris could go get what we needed. 

All in all it wasn't a complete bust, I did get the project done, I had fun hanging with my three year old, although sometimes hectic, and Miriam seems to be doing much better now. My mom somehow managed to also throw a surprise 30th birthday party in there, although it was a week early, which I let her know about by the way haha. Hey, you gotta hold on to your twenties as long as you can right, even if it is just for one more week.

Until next time guys, happy trails.....

READ MORE

Photo Ledges

Posted on Thursday, February 5, 2015 with No comments

Thursday, February 5, 2015

The first project I ever built was a set of these photo ledges. I had just recently bought a new Kreg Jig and armed with a set of plans from AnaWhite,  I headed for the garage. I sorta laugh thinking about building that first set and how much difficulty I had because I didn't own any nail guns at the time and I had to actually hand nail the crown molding on. That was definitely an adventure haha.


Since building that first set I have built several more for different family members and friends of ours. It's kind of interesting to see how my methods have changed and how much easier they are to build now. I don't actually even use the Kreg Jig to make them anymore, not because it doesn't work good, it is just more because it's mostly unnecessary drilling all those pocket holes in my opinion. 

The method I use now is way simpler and involves less finishing work and no unsightly pocket holes from the bottom sides. You definitely don't have to use the biscuit joiner like i did on these but it certainly made the construction super easy and eliminated the use of brad nails on the front ledge all together, again less finish work.


Materials list:
1 inch 18 Gauge Brad nails
2 inch drywall screws
Wood Glue
Drywall Compound
Primer
Paint
2 1x4       - (at whatever length you want them)
1 1x2       - (at whatever length you want them)
Crown Molding - Optional

Tools Needed:
Tape Measure
Miter Saw (optional)
Counter Sink Bit
Drill
Clamps (not necessary but really help)
Sander
Brad Nailer (optional)
Biscuit Cutter (optional)
You could use the Kreg Jig in place of the biscuit and screw method

The first step is to cut your boards to the desired length and then cut your biscuit slots in the 2 1x4's and the 1x2 front ledge. If you are using a Kreg Jig just drill your pocket holes in the bottom 1x4 to attach the front and back ledger.

Next step is to do a dry fit with your biscuits in place and use this time clamp the bottom and back ledger together and drill countersunk pilot holes through the back and into the bottom. I place them about every 10 inches or so across the back.
 Once the holes are drilled you can un-clamp and take everything apart for gluing.
After the glue is applied to the back and bottom put them back together with the biscuits and drive your two inch screws into the corresponding boards. You'll notice this is where using biscuits comes in really handy because they help hold everything together for you.


Now you can attach the front ledger in the same manner, just attach it with the glue and clamp it in place for about an hour until the glue dries. If you want you can just use glue and brad nails in place of the biscuits.

This is where I square up both ends of the photo ledges after they are assembled, if your making more than one make sure to mark the length before making the last cut to ensure they are the same length.

Next I like to sand the bottom to make all three surfaces even with each other.

Now comes the trickiest part of the build, the crown molding. Set your saw at 45 degrees and make your first cut, remember to flip your crown upside down on your saw so that the top of the crown molding is resting on the base and be sure to hold the crown firmly against the saw base.

After making your first cut, line it up with the end of the photo ledge and mark your second cut. I always make the first cut close to what I need and just go back and trim a little away until it is the perfect length, no need to try and and cut it the proper length on the first cut and risk cutting it too short.

After you've got it cut to length it's time to nail the front piece on. It's a little trick to hold the piece on there but usually after the first nail or two you've got it.

Next is the end pieces, I cut the 45 on one end first and mark the straight cut second, this is the easiest way to do it. An follow the  same procedure as before make your mark close and sneak up on the cut until it fits perfectly flush with the back.

I like to add a little glue to the miter corners for added strength.
 Then just nail it on like the front. You may have to push out on the front piece at the bottom a little to help the corners line up the way they are supposed to.

Now the fun part, sanding, sanding, sanding, and more sanding. I go over these with 150 grit on the first sanding to bring everything level with each other before filling the nails holes.

 Regular dry wall compound works great for this step and I just use my finger to smear it in the cracks and nail holes and any other imperfections that may be there.

 Then a light hand sanding with 220 grit paper, just be sure to let the compound fully dry first.

Finally, brush on some primer to help adhesion and coverage for the top color. Then, paint it with gloss finish in whatever color you want. You can also lightly sand in between coats of primer with 220 grit paper, which is what I did, and sand and fill any imperfections you may have missed in the previous step.

Here is a picture of the filler, primer, and gloss finish I used.


And there you are, a nice set of photo ledges to display any where in your home, office, or maybe make a set for a  friend or family member.


READ MORE